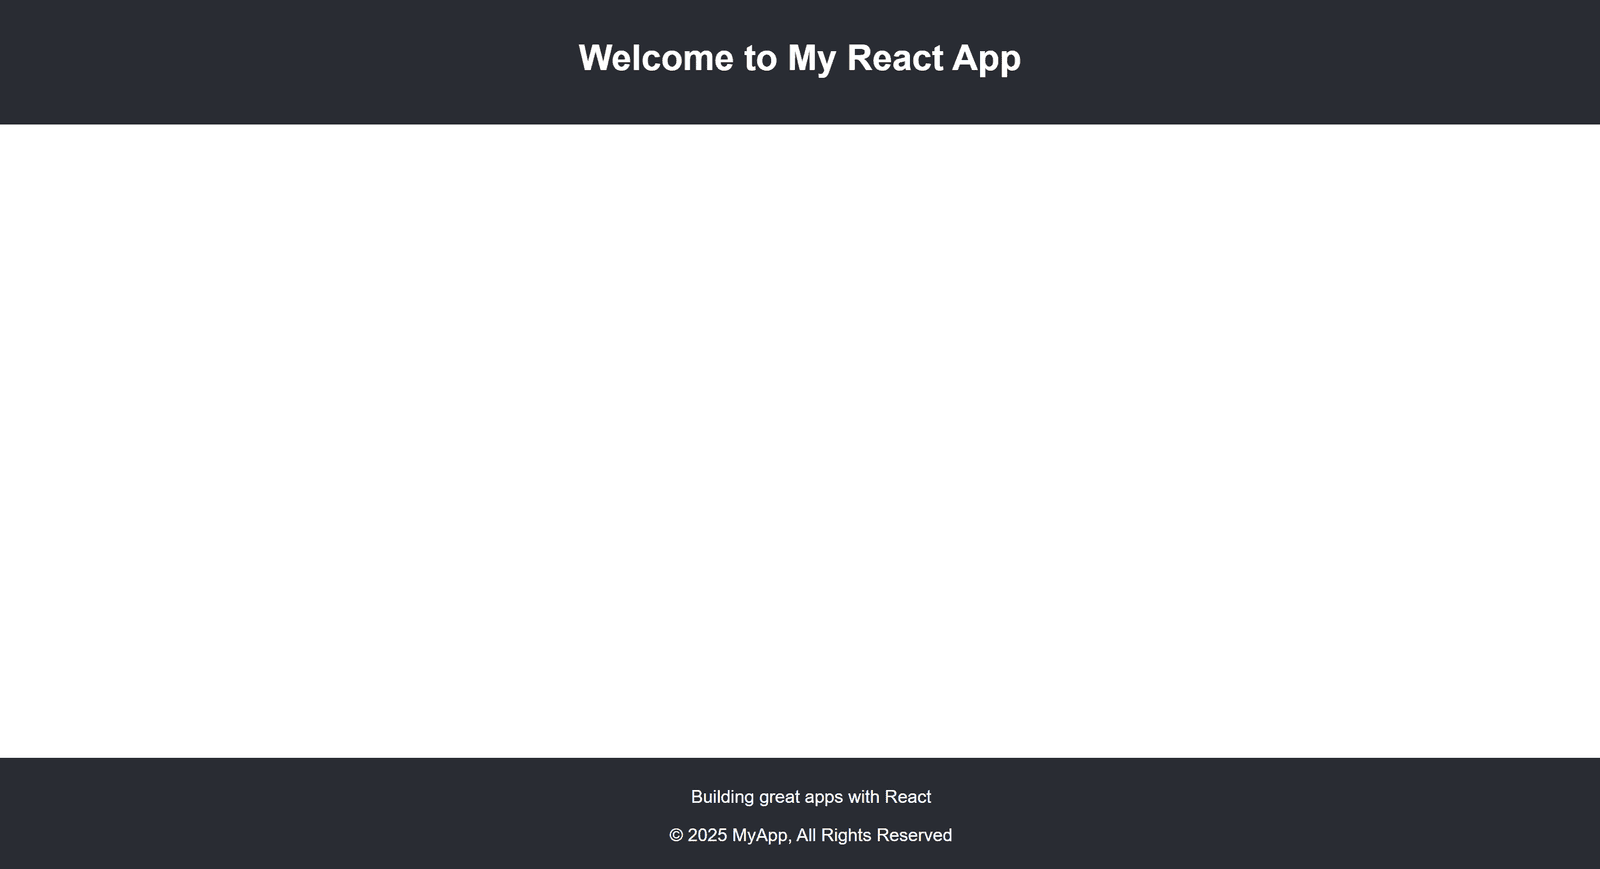
2. Develop a React application that demonstrates the use of props to pass data from a parent component to child components. The application should include the parent component named App that serves as the central container for the application. Create two separate child components, Header: Displays the application title or heading. Footer: Displays additional information, such as copyright details or a tagline. Pass data (e.g., title, tagline, or copyright information) from the App component to the Header and Footer components using props. Ensure that the content displayed in the Header and Footer components is dynamically updated based on the data received from the parent component.
Step 1: Create a New React Application
First, you need to create a new React app using below command. Open your terminal and run:
npx create-react-app react-props-demoThis will set up a new React project in a folder called react-props-demo. After the installation is complete, navigate to the project directory:
cd react-props-demoStep 2: Define the Components
1. App Component (Parent Component)
In src/App.js, we define the parent component App, which will pass data to the child components using props.
import React from 'react';
import Header from './Header';
import Footer from './Footer';
import './App.css';

function App() {
  const title = "Welcome to My React App";
  const tagline = "Building great apps with React";
  const copyright = "© 2025 MyApp, All Rights Reserved";

  return (
    <div className="App">
      <Header title={title} />
      <Footer tagline={tagline} copyright={copyright} />
    </div>
  );
}

export default App;
2. Header Component (Child Component)
Create a new file src/Header.js for the Header component, which will receive the title as a prop.
import React from 'react';

function Header(props) {
  return (
    <header>
      <h1>{props.title}</h1>
    </header>
  );
}

export default Header;
3. Footer Component (Child Component)
Create a new file src/Footer.js for the Footer component, which will receive the tagline and copyright as props.
import React from 'react';

function Footer(props) {
  return (
    <footer>
      <p>{props.tagline}</p>
      <p>{props.copyright}</p>
    </footer>
  );
}

export default Footer;
Step 3: Add Some Basic Styles (Optional)
To make the app look better, you can add some basic styles. Open src/App.css (or create a new file) and add the following styles:
.App {
  text-align: center;
  font-family: Arial, sans-serif;
}

header {
  background-color: #282c34;
  padding: 20px;
  color: white;
}

footer {
  background-color: #282c34;
  padding: 10px;
  color: white;
  position: absolute;
  bottom: 0;
  width: 100%;
  text-align: center;
}
Step 4: Run the application
Back in your terminal, start the development server by running:
npm startOUTPUT:

“Fixing the Module not found: Error: Can't resolve 'web-vitals' Error in React”

The error you’re seeing occurs because the web-vitals package, which is used for performance monitoring in a React app, is not installed by default in the project or has been removed. Since web-vitals is an optional package, you can safely resolve this issue by either installing the package or removing the code that imports it.
Option 1: Install the web-vitals package
If you want to keep the performance monitoring functionality and resolve the error, simply install the web-vitals package.
- In the terminal, navigate to your project folder (if not already there):
cd react-props-demo- Install
web-vitalsby running the following command:
npm install web-vitals- After installation is complete, restart the development server:
npm startThis should resolve the error, and your application should compile correctly.
Option 2: Remove the Web Vitals Code (If Not Needed)
If you don’t need performance monitoring and want to get rid of the error, you can safely remove the import and usage of web-vitals from your code.
- Open
src/reportWebVitals.jsand remove its contents or just comment out the code:
// import { reportWebVitals } from './reportWebVitals';

// You can safely remove the call to reportWebVitals or leave it commented out
// reportWebVitals();- Save the file, and the application should compile without the error. You can now continue developing your app.
